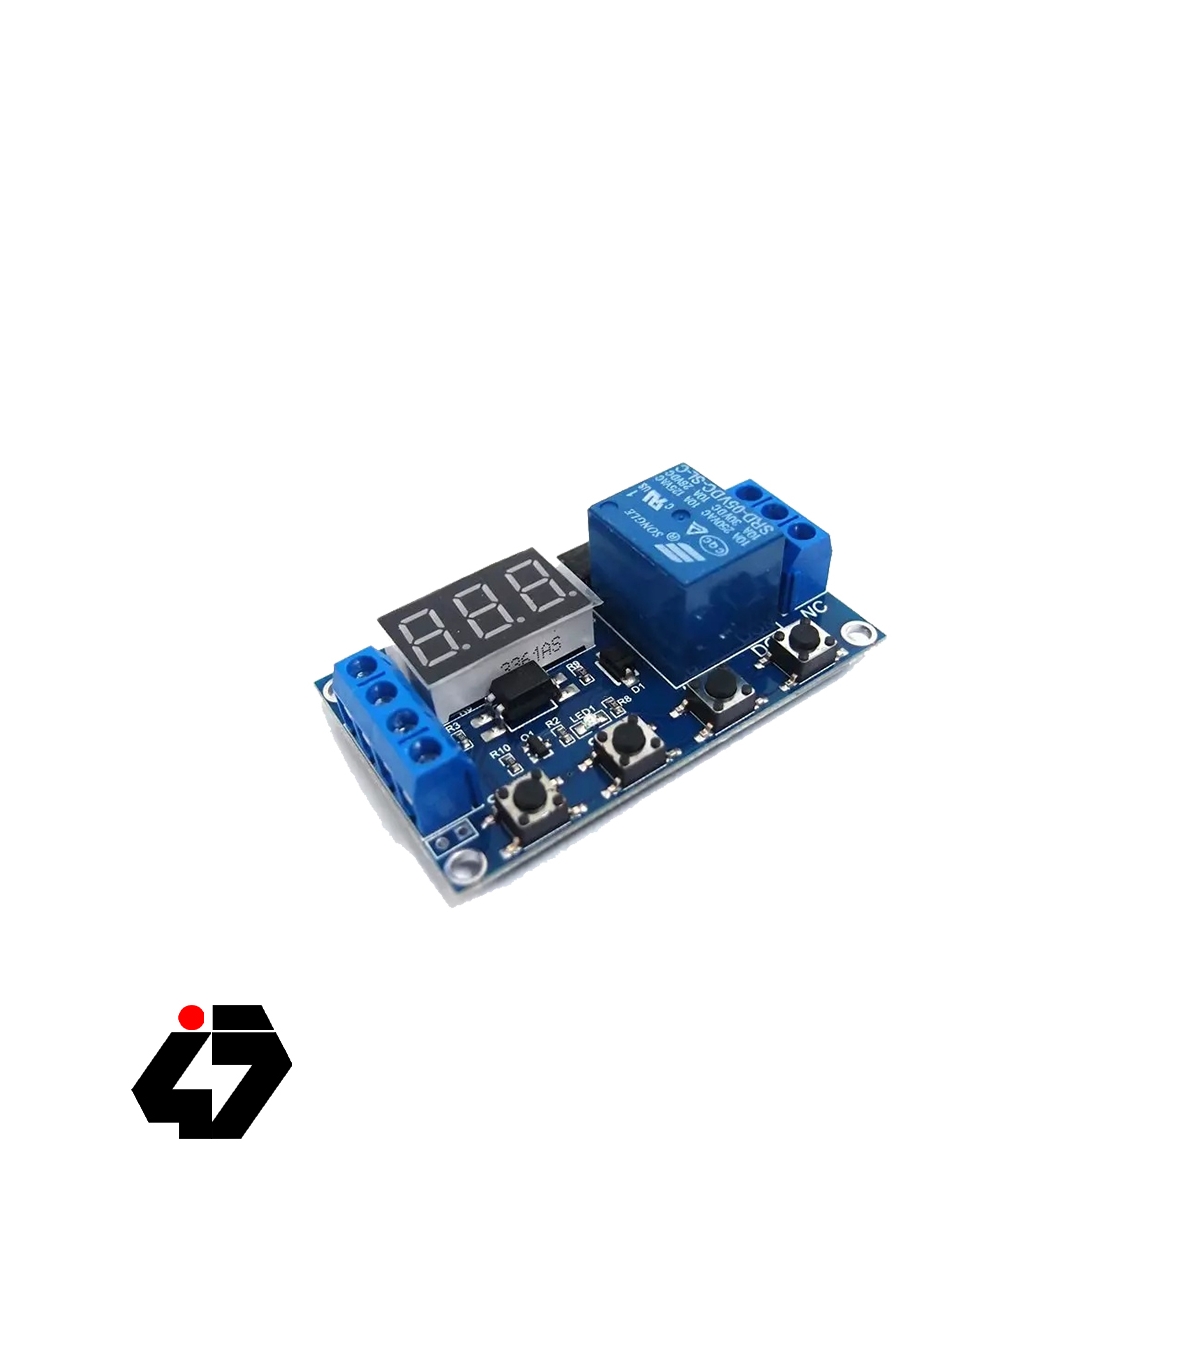
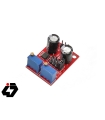
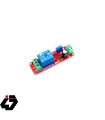
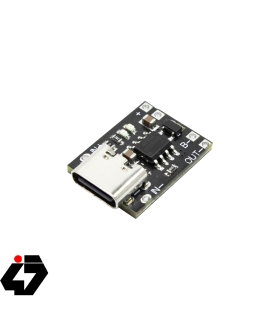
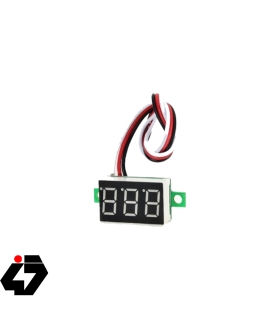
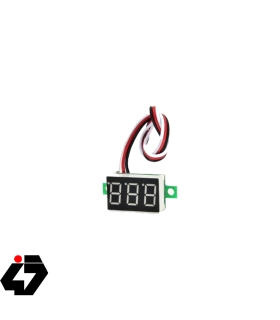
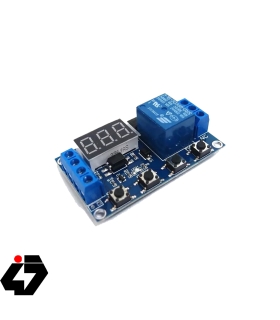
کنترل هوشمند و نمایشگر 3 رقمی و امکان تغذیه ورودی از طریق پورت Micro USB از ویژگی های جدید این ماژول است. استفاده از ورودی و خروجی ایزوله شده سبب شده تا توان مصرفی بهینه شود و علمکرد تایمر مختل نشود. همچنین بعد از خاموش کردن ماژول، آخرین تنظیمات انجام شده در حافظه می ماند. برای پمپ، انواع LED، چراغ و کنترل موتور قابل استفاده است.
نحوه استفاده
برای تنظیم پارامترهای سیستم اعم از مد کاری و مدت زمان OP,CL ومقدار LOP کلید SET را به مدت 3 ثانیه فشار داده تا مدهای کاری نشان داده شود با استفاده از کلیدهای UP و DOWN یک مد کاری را انتخاب می کنیم برای تعیین پارامتر بعدی نیز SET را به صورت لحظه ای فشار داده و به همان ترتیب مقداردهی می کنیم و اگر در مد مورد نظر CL ویا LOP مورد نیاز باشد نیز به همین ترتیب عمل می کنیم در نهایت بعد از تنظیمات لازم دکمه SET را به مدت 3 ثانیه فشار می دهیم تا تنظیمات مورد نظر پیکربندی شود.
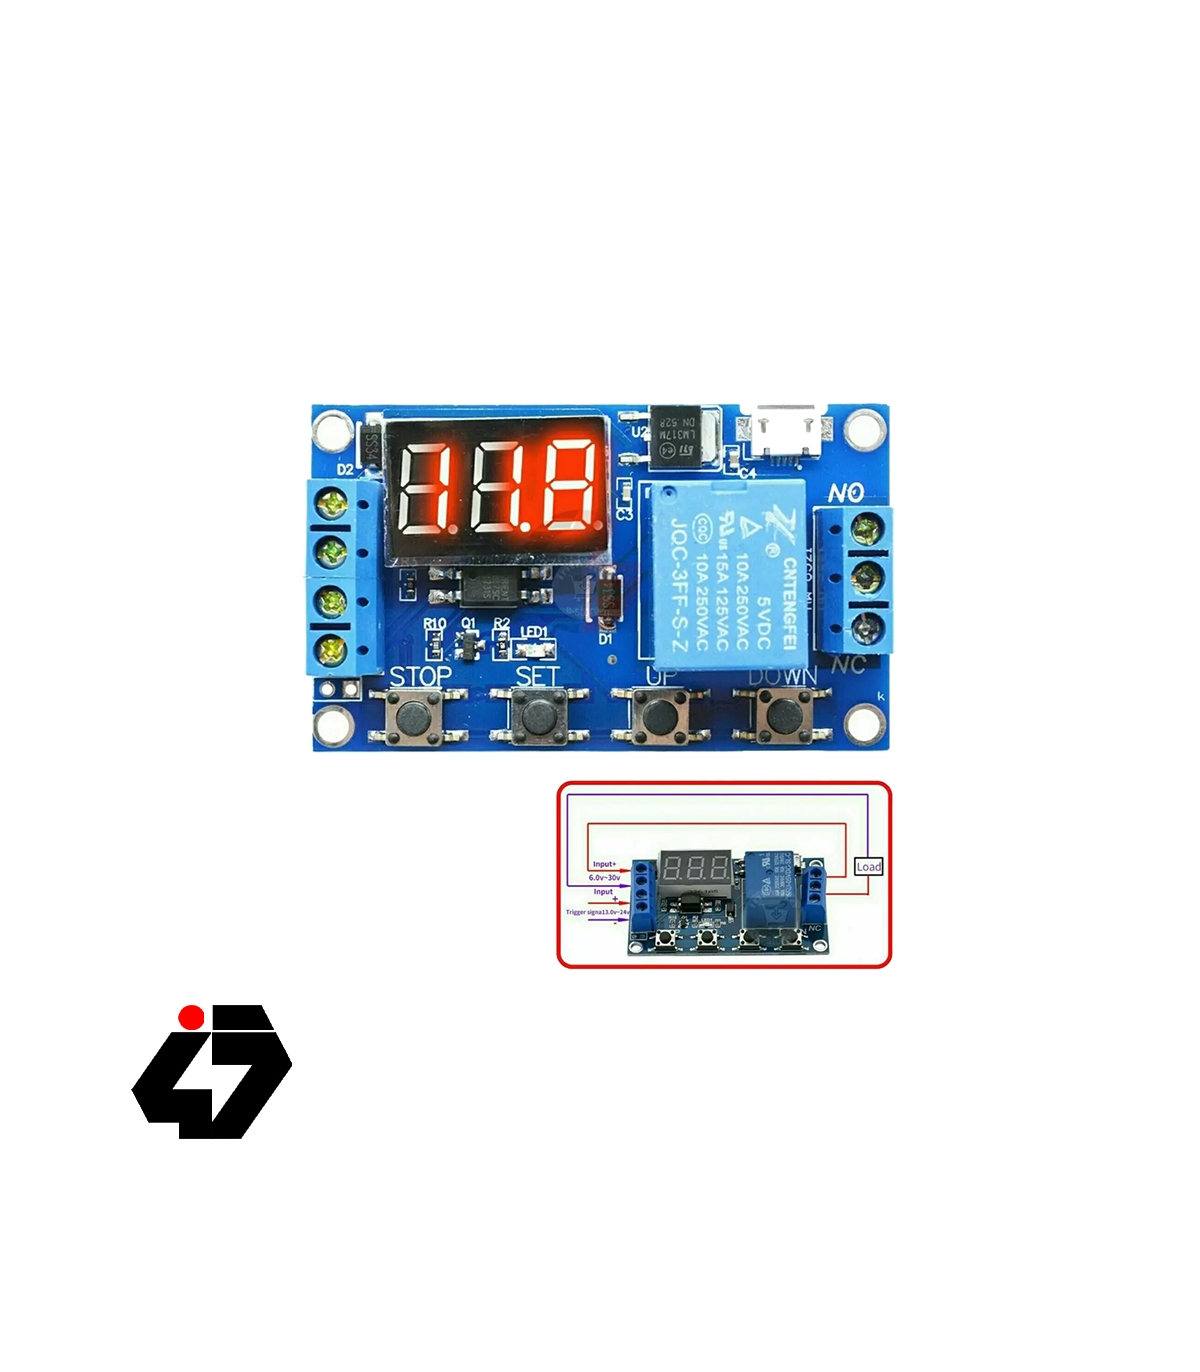
برای اطلاع از مقدار پارامترهای سیستم یا مد تنظیم شده با فشار دادن لحظه ای کلید SET همه پارامترها به صورت پشت سر هم نمایش داده می شوند.برای ایجاد سیگنال تحریک پایه مثبت سیگنال تحریک به منبعی در محدوده ولتاژ DC به اندازه 3 تا 24 ولت متصل شده و کافی است دو زمین مدار (منظور مدار تایمر و مدار مولد ولتاژ تحریک) را به هم اتصال دهیم تا سیگنال تحریک ایجاد شود.برای راحتی این مورد نیز در سمت چپ برد محلی برای اتصال دو زمین قرار داده شده که با گذاشتن یک سوییچ بین این دو زمین با هر بار زده کلید شدن یک سیگنال تحریک ایجاد می شود. (در این حالت سیگنال تحریک همیشه دارای ولتاژ است و منفی بعنوان ورودی استفاده میشود - همچنین میتوان منفی را دائمی متصل کرد و بین ولتاژ تحریک و پین تریگر تایمر کلید گذاشت) به عبارتی دیگر ایجاد تریگر سطح بالا با استفاده از مشترک کردن زمین های ورودی و دادن سیگنال تحریک به تریگر تایمر باعث ایجاد خاصیت ضد نویز نیز می شود.
C-P بعد از پنج دقیقه بلا استفاده بودن سیستم، نمایشگر تایمر خاموش شده و سیستم یه کار عادی خود ادامه می دهد.
O-d با انتخاب این گزینه نمایشگر سیستم به حالت همیشه روشن به کار خود ادامه می دهد.
برای انتخاب بین دو حالت فوق کلید Stop را به مدت 2 ثانیه فشار می دهیم.
هنگام تنظیم زمان با کلید استپ میتوان ممیز را بین اعداد به صورت زیر جا به جا کرد:
XXX 1 تا 999 ثانیه
XX.X 0.1 تا 99.9 ثانیه
X.X.X 1 تا 99 دقیقه
Introduction
New upgrades to simplify, meeting the users' needs. LED 3 digits display, intelligent control, time relay/delay function. The use of opto isolated input and output, enhanced anti-jamming capability and consumption. The last setting parameters can be memorized after power off. To ensure stability, industrial grade PCB board. Applied to control motor, bulb, LED light string, mini pump, etc.
Specification
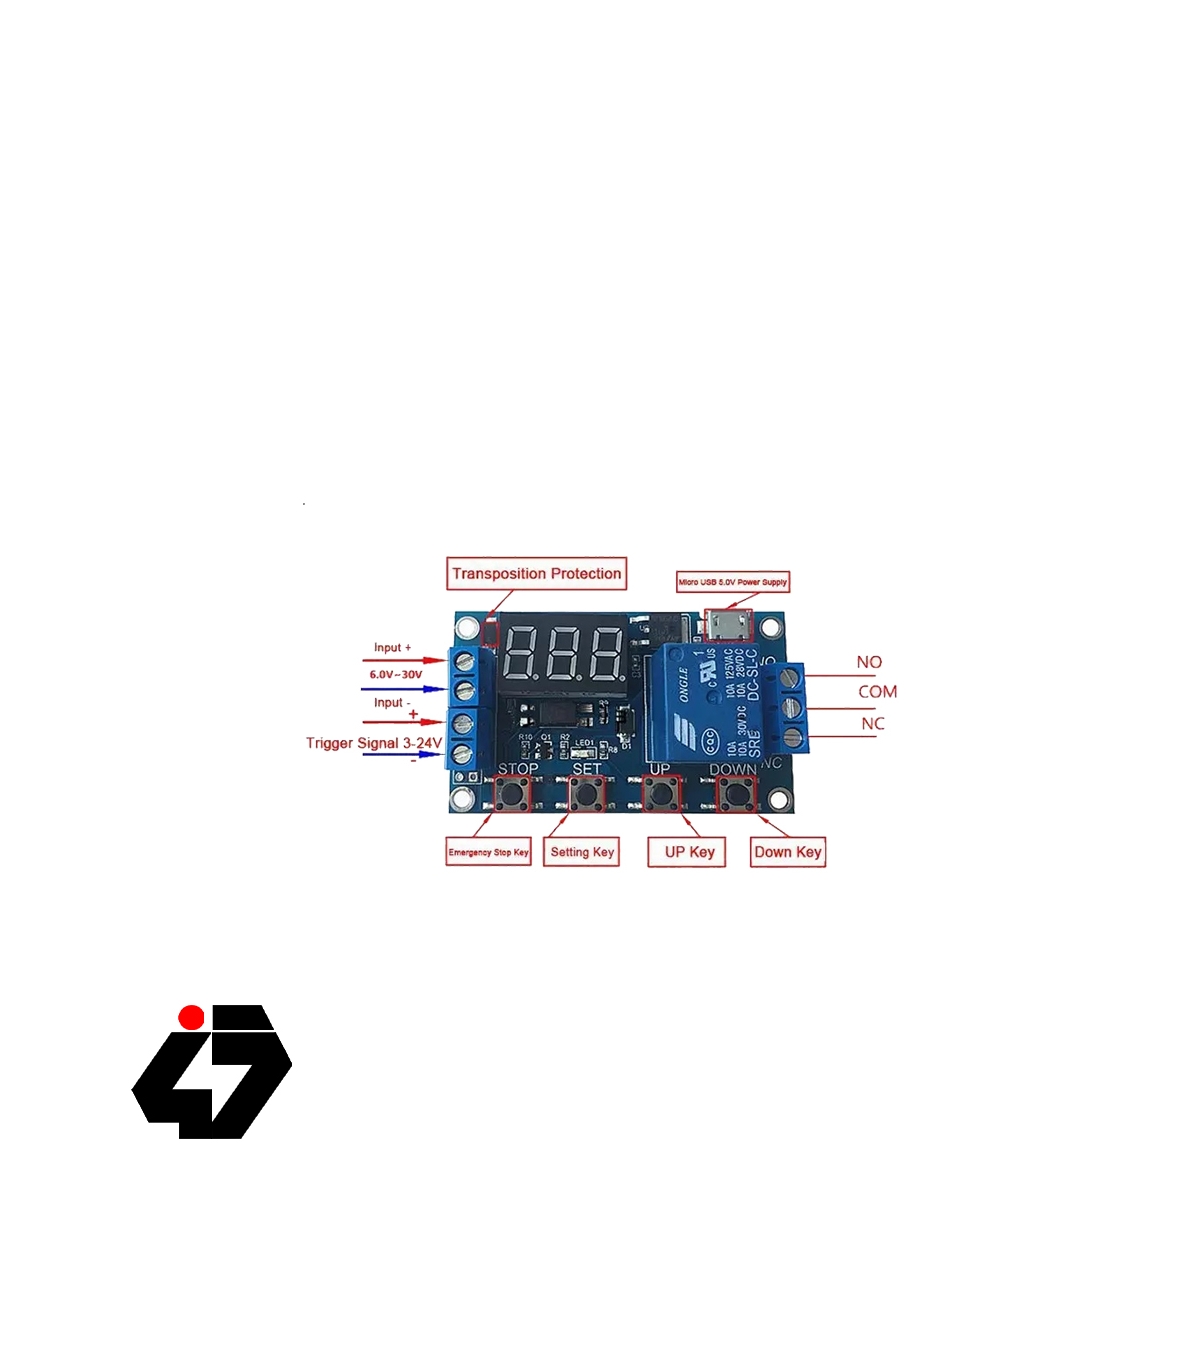
Working voltage: 6-30V (supports micro USB 5.0V - power supply)
Triggering signal source: high level trigger (3.0V-24V); the signal ground and the system ground do not share the ground, so as to Improve the anti-jamming ability of the system (or it can be shortly connected to the common ground on your own)
Output capacity: the device can control equipment within 30V 10A DC or 250V 10A AC.
Quiescent current: 20mA
Operating current: 50mA
Service life: more than 100000 times
working temperature: -40~85 ℃
Size: 6.4X3.8X1.7cm With optocoupler isolation, enhanced anti-interference ability, industrial-grade circuit board, the memory of the parameters is perpetual after powered off when it is set.
Time range: 0.1 ~ 999 minutes (continuously adjustable)
Instruction
Operating mode:
P1 mode: after triggering the signal, the relay conducts OP time and then disconnects; in OP time, the operation will be as follows:
P1.1: the relay is invalid when the signal is re-triggered.
P1.2: the relay starts to work again when the signal is re-triggered again.
P1.3: the relay is disconnected, and the timer is stopped when the signal is triggered once again.
P1.4: in OP countdown time, start on boot without triggering;
P-2.1: when the CL time of the triggering signal and the relay is disconnected, the relay conducts to the OP time. When the timekeeping is done, the relay should be disconnected.
P2.2: P2 function distinction: the timing is triggered again.
P3.1: after the triggering signal and the relay conduct to the OP time, the relay disconnects the CL time, and then the above operation is recycled, the signal is provided to the relay again; when the relay is disconnected, the timing stops and the recycling time (LOP) can be set;
P3.2: after the power is connected, the signal needs no triggering, the relay will conduct to the OP time while disconnects the CL time, recycle the operation mentioned above; also the recycling times (LOP)can be set;
P-4: the signal-keeping function: if the signal is triggered, signal, the timing will be reset to clear and the relay is still conducted; when the signal disappears and the timing of OP is done, the relay will be disconnected; during the timing period, the timing will be reset to clear if there is a new signal.
Long press the “down key” of the timing interface and switch to reversal output state (switch state is opposite).
In p3.2 mode, long press the “up” key in the timing interface, displaying “F1” means the OP time operates first, while “F2” the CL time first.
How to set the parameters
1. First, determine the working mode of the relay.
2. According to the working mode of the relay, long press the “SET” key for2 seconds in the main interface( when the module is on, it will flicker the current working mode---the default P1.1 mode, and turn to the main interface), turning to the mode-selection interface, then choose the mode you want by short press the “UP” and “DOWN” keys(P1.1~P-4).
After selecting the mode you want, short press the “SET” key to set the corresponding parameters, the parameters to be set will flicker, adjust the parameter value by long or short press the “UP” and “DOWN” keys (long press means increase or decrease in a fast speed, short press means increase or decrease 1 unit). After setting the parameter value, select the position of the decimal point by short pressing the “STOP” key and select the time range (the corresponding time is 0.1 seconds ~999 minutes); short press SET key, set the next parameter of the current mode, the process is the same as what mentioned above.
4. After setting the parameters of the selected mode, long press the “SET” key for 2 seconds, the current set pattern will flicker, then return to the
main interface, the parameters is settled.
Main interface: it displays "000"when the relay is not working and “0.0.0.” when it is working.
Mode selection interface: you enter this mod